The camera is a standard model Raspberry Pi camera module. It is behind a piece of glass (same type microscope slide glass as the UV sensor) on a custom built mount. The glass is siliconed to the back of the box that houses the RPi.
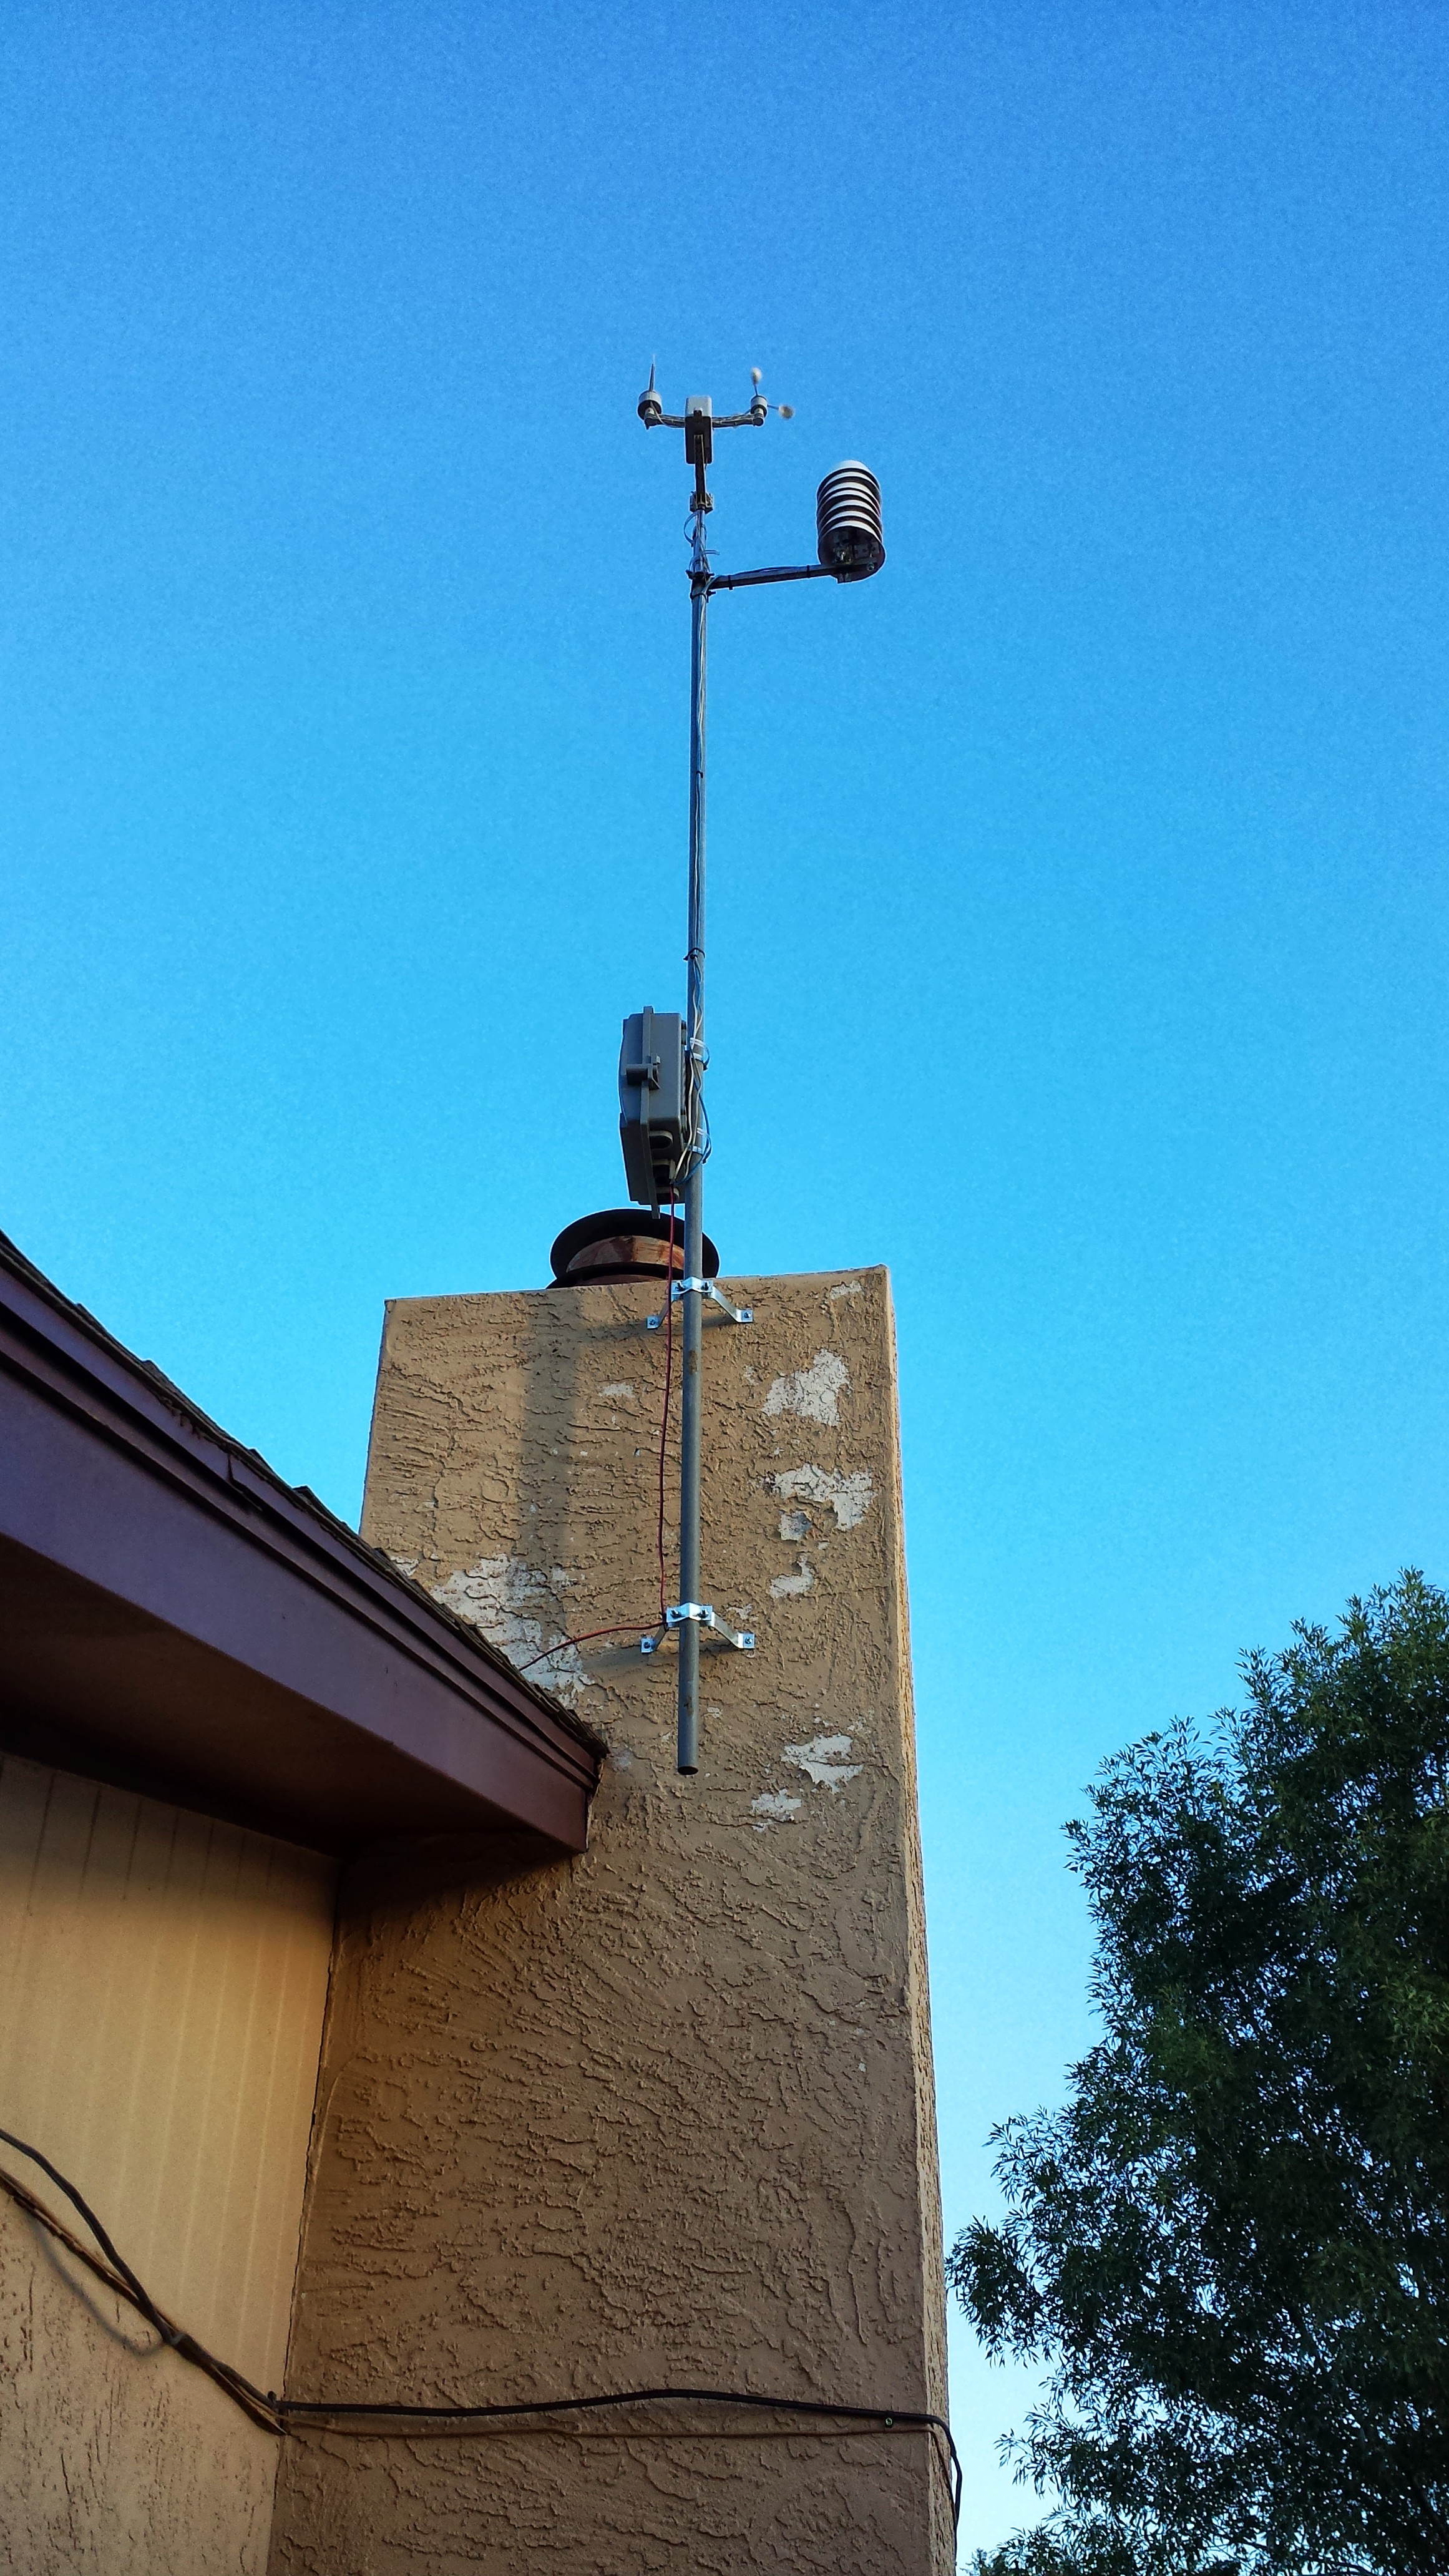
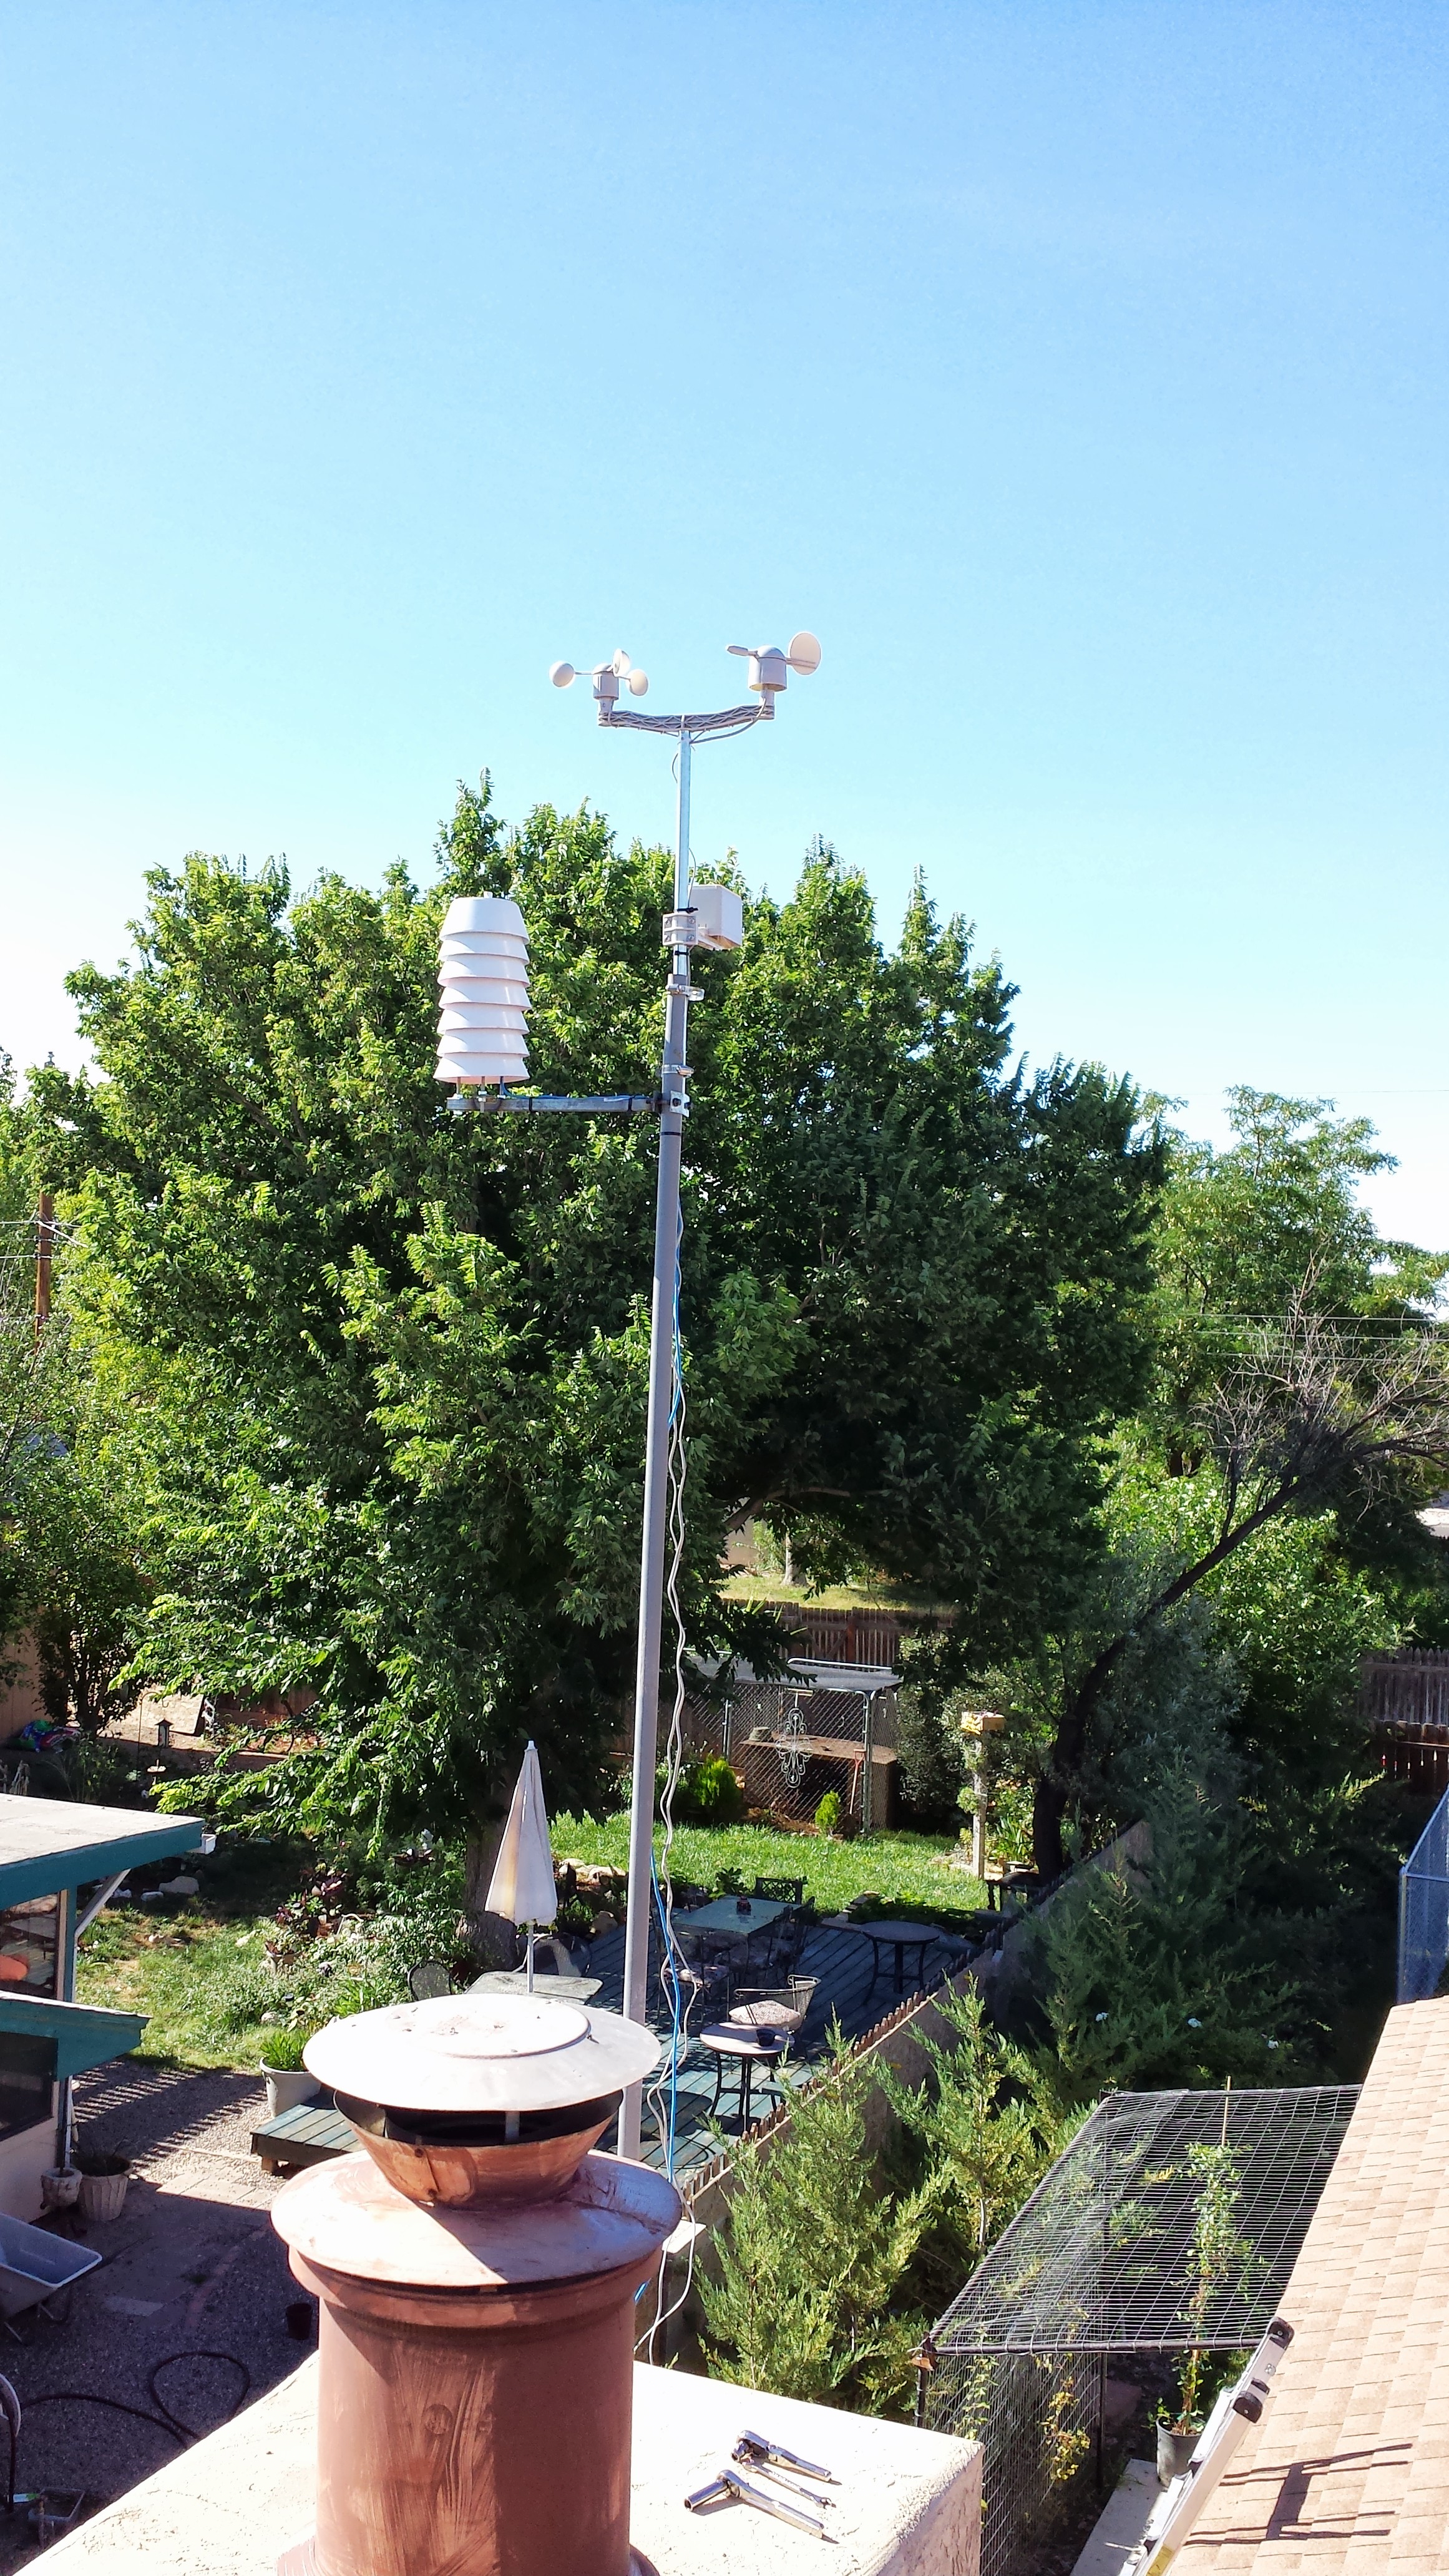
PiWx is running on a Raspberry Pi Model A computer. Hard-wired to the Pi, via Adafruitĺs Pi Plate, is a set of instruments from Argent Data Systems. This is the wind speed and direction, as well as the rain sensor. The anemometer is wired directly to one of the GPIO pins. The wind vane is wired through an MCP3008 ADC and running a 3.3v DC reference power supply independent of any other equipment. I originally had problems on the bench while using a 5 VDC reference (it was a bad voltage supply), as per the data sheet, and was writing my own code anyway, so I used a 3.3 VDC because I got it to work and didnĺt Ĺfixĺ it. In the future I may recalibrate to get more accuracy. Right now I am only working with 8 directions, but the vane can read 16. The tipping cup rain sensor is again wired directly to a GPIO pin.
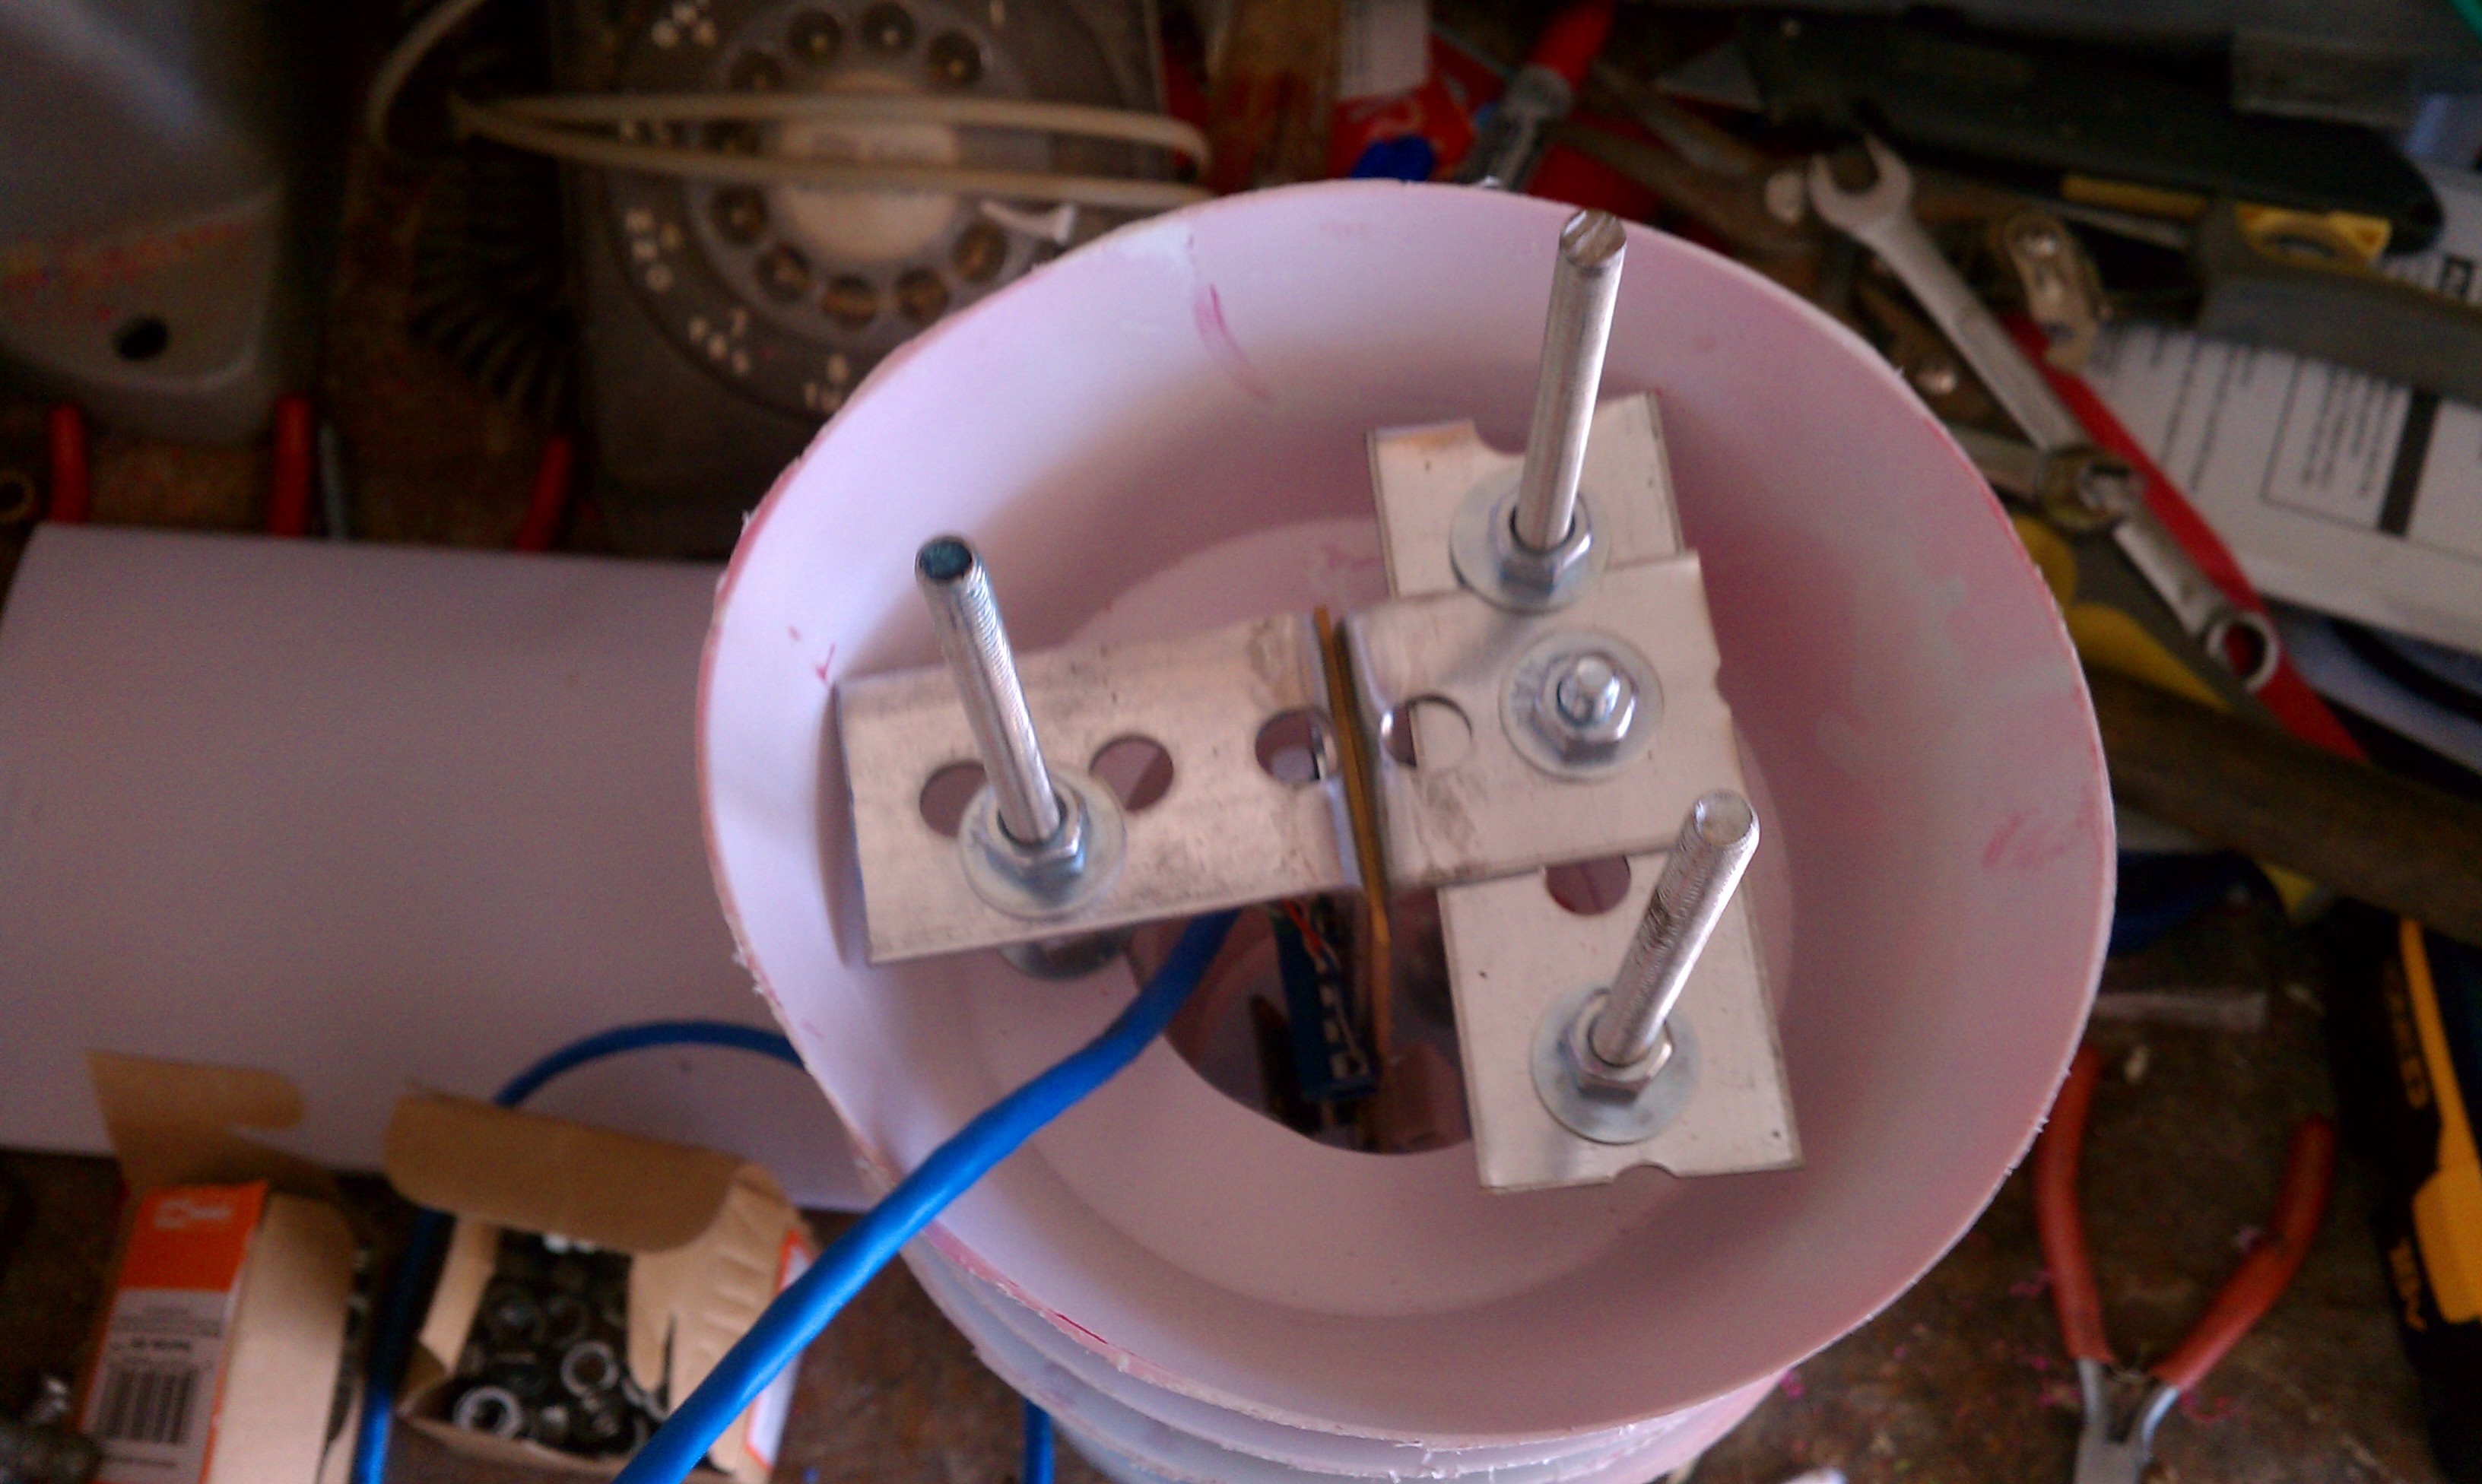
The Temp/Pressure/Humidity sensor pack is enclosed in a home made solar radiation shield. One of the nicknames of this type of shield is a Pagoda, because of its similarity to the ancient Japanese temples. Inside the pagoda is a custom built one-off PCB with one sensor on each side. It is a prototype board and I plan on making a much better one with both sensors soldered directly to the board. Right now the BMP085 is in half of a 14 pin IC socket and is feeding its data to the computer via the on board SPI interface. The DHT22 uses a proprietary one-wire protocol that is NOT the Dallas one-wire protocol. It comes into the board on a single GPIO pin and read using a Python library provided by Adafruit.com. The BMP085 is measuring Temperature and Barometric Pressure. It also is calculating altitude, but since that isnĺt really a variable, Iĺm not really doing anything with that data. Also in the pagoda is a DHT22 Temperature and Humidity sensor. I am reading the temperature off of this sensor, but not doing anything with it. It reads within ~0.2░ C of the BMP085. I guess I could average them, but I trust the BMP085ĺs data. I can easily switch them in the code if one of them starts reading incorrectly. The DHT22 is now only sending out humidity. The BMP085 is wired up on the RaspberryPiĺs SPI interface and the DHT22 is running directly on a GPIO with a bit banged protocol (via the Adafruit website).
The data is collected as follows:
| Temp/Pressure/Humidity | 5 Minutes |
| Wind Speed/Direction | Constant |
| Rain | Constant |
| Web Page Graphs | 15 minutes |
| Tweets | On the hour |
The Wind/Rain sensors are unaltered. The wind vane is wired through one channel of a 8 channel ADC (Analog Digital Converter) to convert its output to a digital signal that is then fed into the RaspberryPi via the i2c interface. ááThe anemometer and the rain sensor are fed directly into individual GPIO pins.
The wind sensors are supposed to be at 10 meters according to the NWS/NOAA specifications. Unfortunately my chimney is only 14 feet tall and with the mast and other hardware they only made it up to about 23 feet instead of 32.8 feet. All of the hardware, including the RaspberryPi, is located outdoors with the exception of the recycled laptop power brick feeding the unit 19 VDC. I would someday like to get it running off of a AGM battery and a solar/wind setup to recharge the battery. One thing you can count on in SE New Mexico, either the sun is shining, or the wind is blowing.
All of the data collected is stored locally in a MySQL database. Custom Python programs then process the data and generate the graphs and the HTML for the web pages. The images (graphs) are hosted on the RPi and the table is generated as a Python CGI on the RPi as well. The base HTML and most of the text is hosted on a sever somewhere back east.
I rushed to get the sensors up and running and didnĺt worry so much about the Ĺprettyĺ stuff. My next project is working on the web interface and possibly on submitting the data to one of the many weather sites that accept outside data.